Yesterday I realized my blog post was due today, and I was not prepared. A few weeks ago, when I was feeling remotely human, I worked ahead on a bunch of things for Sketchyville. Then the cyclical anxiety/depression slump hit, and I thought my pre-planning would carry me through. Yet here I am, needing to write a post, with nothing cohesive to share with you.
It’s not that I haven’t been making anything, because I have, I just haven’t been making anything with the intention of sharing it anywhere other than on Instagram. I’m crafting just to make things, and I’m missing the progress photos I like to take when I’m showing you my process.
So, with that in mind, I figured I’d share a project I’m trying to wrap up. Forgive me if this post isn’t as cohesive as some of my other ones.
I follow a miniaturist online who I really adore, and has given me so much inspiration over the last year. Her name is Ara, and she runs Bentley House Minis. She’s really amazing, and if you have any interest at all in crafting miniatures, be sure to check out her YouTube channel.
After binge watching her entire YouTube channel I subscribed to her Patreon last fall. There, a group project was conceived where we would all start with a book box, and make a project about our favorite book. It’s really fun to see the different things people do with the same materials. It really shows how creativity is limitless!
I decided for my book box, I was going to use a setting from Jim Butcher’s Dresden Files series. It’s about Harry Dresden, a modern day wizard living in Chicago, who fights all the big supernatural baddies that normal humans don’t know exist. Harry has a wizard’s lab in his basement, and that’s what I chose to make for my diorama.
The first thing I did was to decorate the outside of the box.
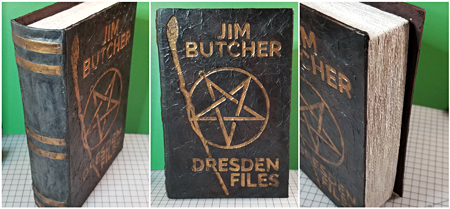
I did it the same way I made the 2020 Room Box, except instead of cutting out pieces for the front, I cut out a whole panel so the details would look engraved. I also glued embroidery floss to the page portion of the book (an idea from one of Ara’s Patreon livestreams), which I painted over to mimic pages.
Next I did the walls and floor for the inside.
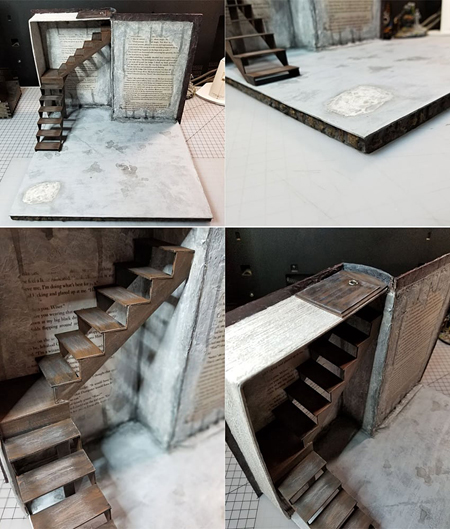
Harry gets to his lab through a hatch in the floor of his kitchen, and the book is very specific about there being stairs leading to the basement. I couldn’t wrap my head around how that would work without him bumping his head constantly, especially since he’s over six feet tall. It wasn’t until after I’d posted my progress photos on Patreon and someone said they were probably “galley stairs,” that I saw how it was supposed to work. At that point I had already superglued my stairs in though, so if you read the books after seeing my diorama, you'll have to picture Harry fighting demons with a perpetual bruise on his forehead.
You’re welcome.
I wanted to make it look like the book was opening up onto this scene, so I copied a couple of pages from one of the books and glued them onto the walls. Then I used joint compound to make a craggy stucco texture on the walls to embed the pages in.
There’s also a part in one of the books where Harry digs up a portion of the floor to bury something nasty, and then cements over it. So a patch of new cement stands out against the old in his basement. I mimicked that by using joint compound in one place on the floor, and not painting it as dark as the rest of the floor.
Add in a ton of aging to make it look like a 100 year old dirty basement, and the scene is set. It’s time to make the furnishings.
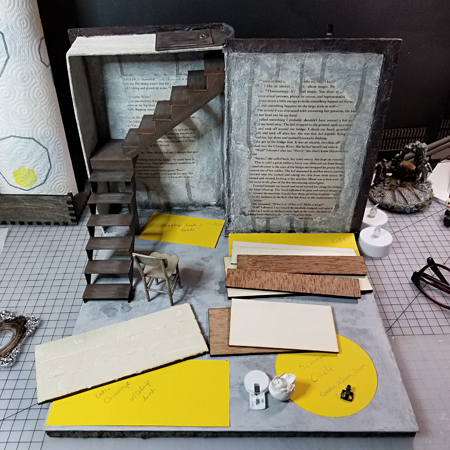
I don’t sketch out my dollhouses and dioramas. I’m terrible at sketching and drawing, it just frustrates me because I really want to be good at it, but I’m not. So to figure out dimensions and layout, I use bits of paper to mimic the items I want/need to make. I buy origami paper for this and a lot of my other crafting because it’s colorful, cheap, and easy to fold.
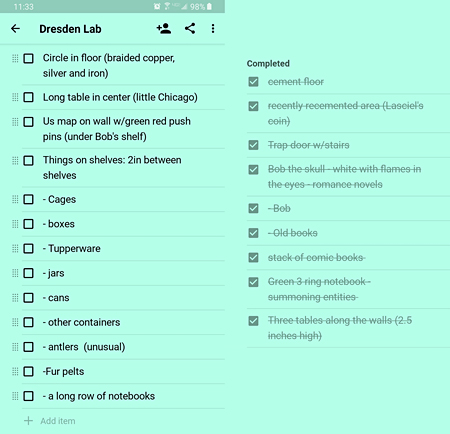
I also keep a list of items that need to be made for the project in an app that I can access from my computer or my phone, it also allows me to check off things when I’ve finished them.
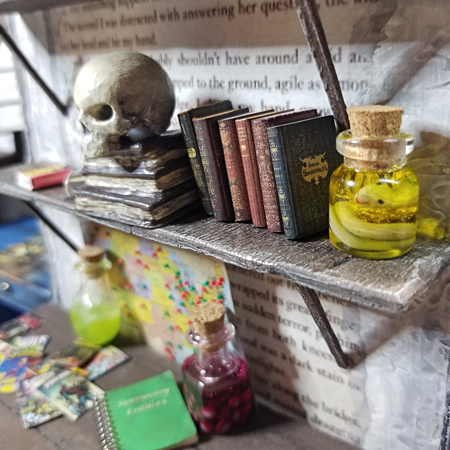
In the books, Harry has an elemental spirit trapped in a skull that he calls Bob. Bob is an encyclopedia of magical knowledge, a bit of a rogue with an addiction to romance novels, and he absolutely had to be in my diorama. The problem for me was that Bob’s eyes glow, so that meant making a battery operated glowing skull.
I’m not good with electronics, but I thought if I gutted a battery operated tealight, I could use that to make him light up. Yea, not so much... It turns out those tealights don’t have actual switches in them, and I wrestled with the problem for two days before I finally went to John for help. He bought a pack of tiny switches for me, and after that it was easy as pie to get this guy working.
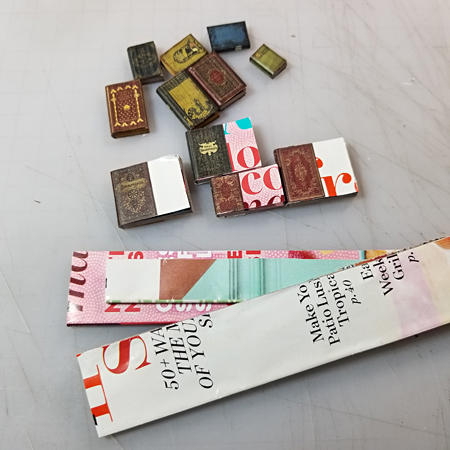
Next up was a ton of books, some old ones for researching magic, and a few romance novels for Bob.
I made these the same way I showed you in a previous blog post. I cut the spines off of old magazines, glued the covers around the spines, and then trimmed them down to the size of the book.
Then I made Harry’s notebook, which I’m super proud of. When I showed it to John he told me I was insane.
Yea, and?

I gutted a pen to steal the spring, and then measured how far apart the coils on the spring are (it’s 2mm in case you were curious). Then, I cut a piece of matboard to the size of my spiral notebook, and poked holes along the edge for the spring to be threaded through. To fake the look of pages, I took a craft knife and separated the layers of matboard along the corners, then bent the cover portion a little bit to make it look used. As a last finishing touch, I rubbed some pastel powder in strategic spots to give it some grunge.
In the series, Harry ends up taking on an apprentice, and gives her a desk in the lab where she can work on her magical studies. Now it should be noted, it’s mentioned in the books that most of Harry’s furniture comes from thrift stores and garbage piles. So just about everything in my diorama is beat up to a certain extent.
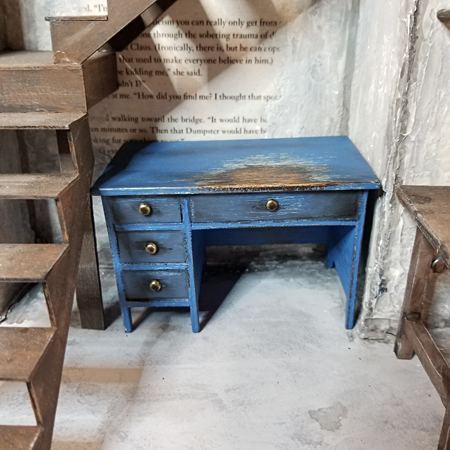
I made the desk out of 3mm plywood that I cut with my laser. I had originally intended to have the drawers open, but I’m still learning design, and I forgot a measurement when I designed it. Future Anne will fix the design sometime when she’s not in a brain fog, but a desk with non-functioning drawers is just fine for this project.
To get the aged look, I painted the desk with three different colors, and then sanded through the layers in different places. I made sure to go completely through the paint on the top of the desk where it would have gotten the most abuse. I also grunged it up a little more with black pastel before sealing it with a matte spray.
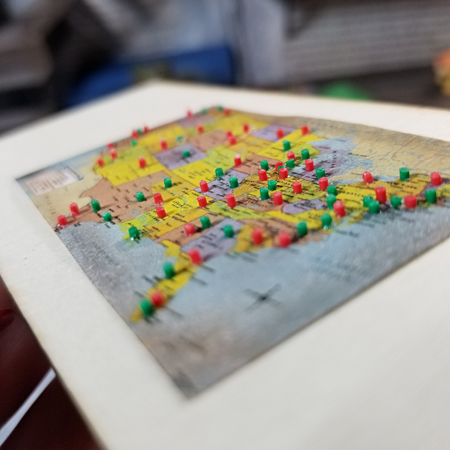
Next I needed a map.
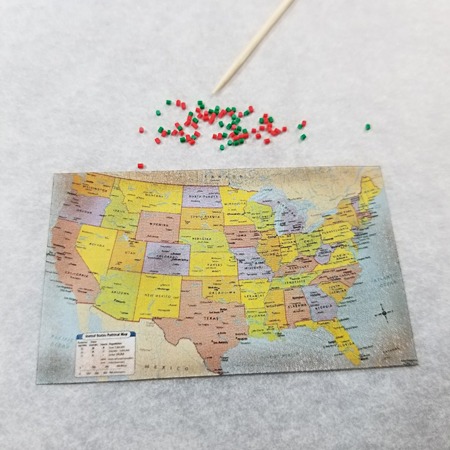
Harry tracks Denarian activity (just read the books) on a map of the US in his lab using red and green push pins. To make the pins, I rolled out tiny snakes of polymer clay, and then baked the snakes. Once they had cooled, I chopped them into little pieces with my craft knife, and glued them onto the map.
Lastly, every wizard needs some jars filled with weird things.
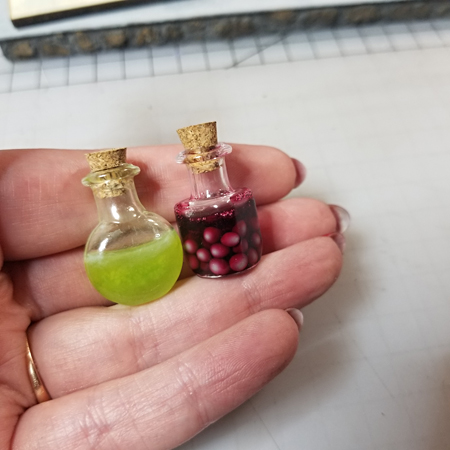
These are made with UV resin, tiny bottles, and polymer clay. The green one glows in the dark, just because I felt like it should.
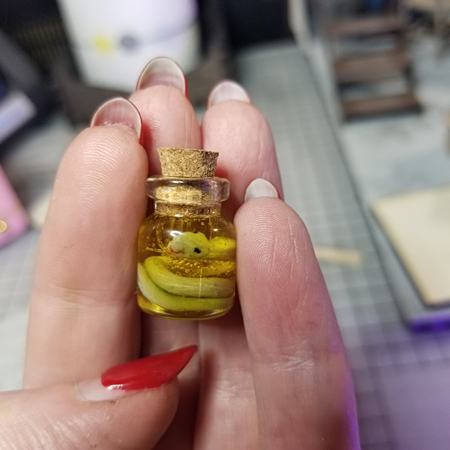
Yea... I need a manicure. Don't judge!
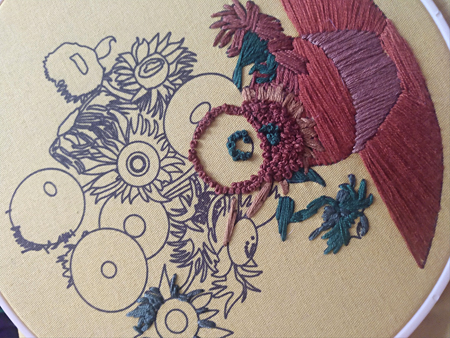
Neeley pushed me into doing the snake, I wasn’t sure if I would be able to pull it off, but I’m pretty happy with it.
Now you’re all caught up with what I’ve been doing. I’m about halfway done with this project. I still have another table to build for a miniature, little Chicago. I have the summoning circle made, but not installed yet. I have some boxes made to go under the stairs and in some other locations, but they’re also not finished yet. AND, I have a bunch more items left to make for the tables and shelves.
Here’s what it looks like so far though.
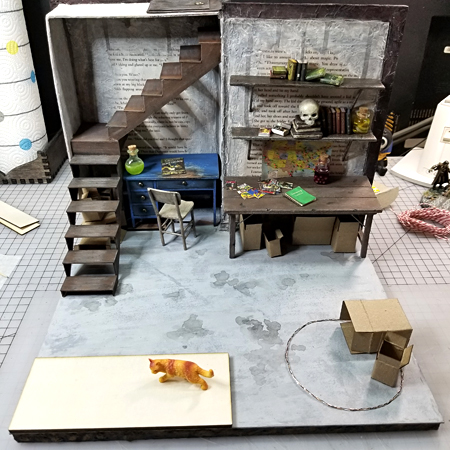
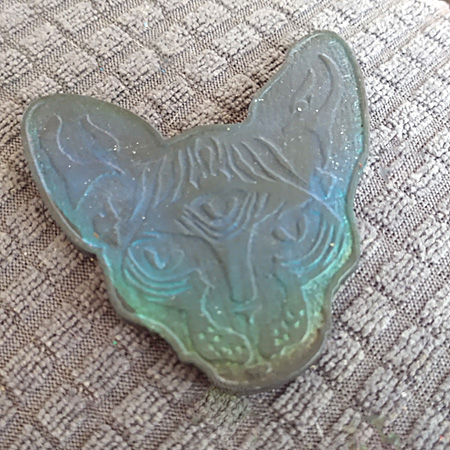
The cat is named Mister. He’s going to get his tail bobbed and a repaint, and then he’ll be attacking a catnip bag suspended over little Chicago. So go ahead and add him to my list of things to do…
So yea, that’s what I’ve been up to. What’s new with you?

P.S. If you’d like a more in depth tutorial of any of the items I’ve made for this project, just let me know on Instagram, Reddit, or Facebook and I’d be happy to do that for you!
*This post contains Amazon Affiliate links

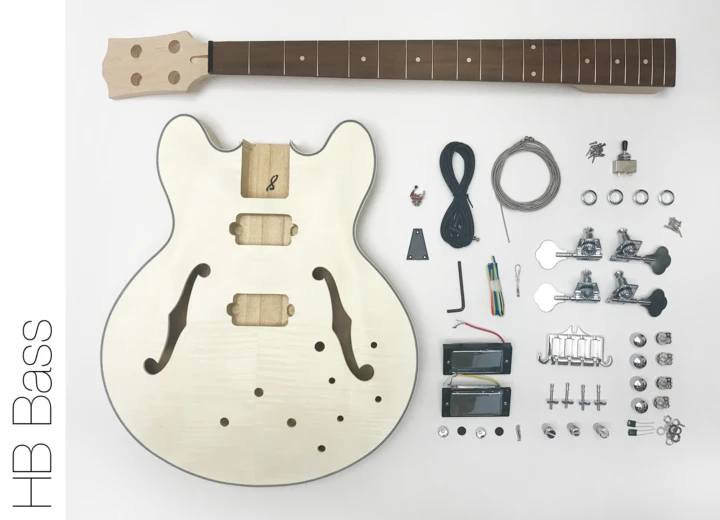
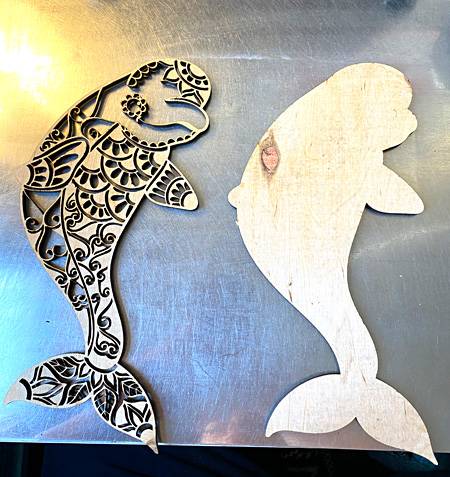
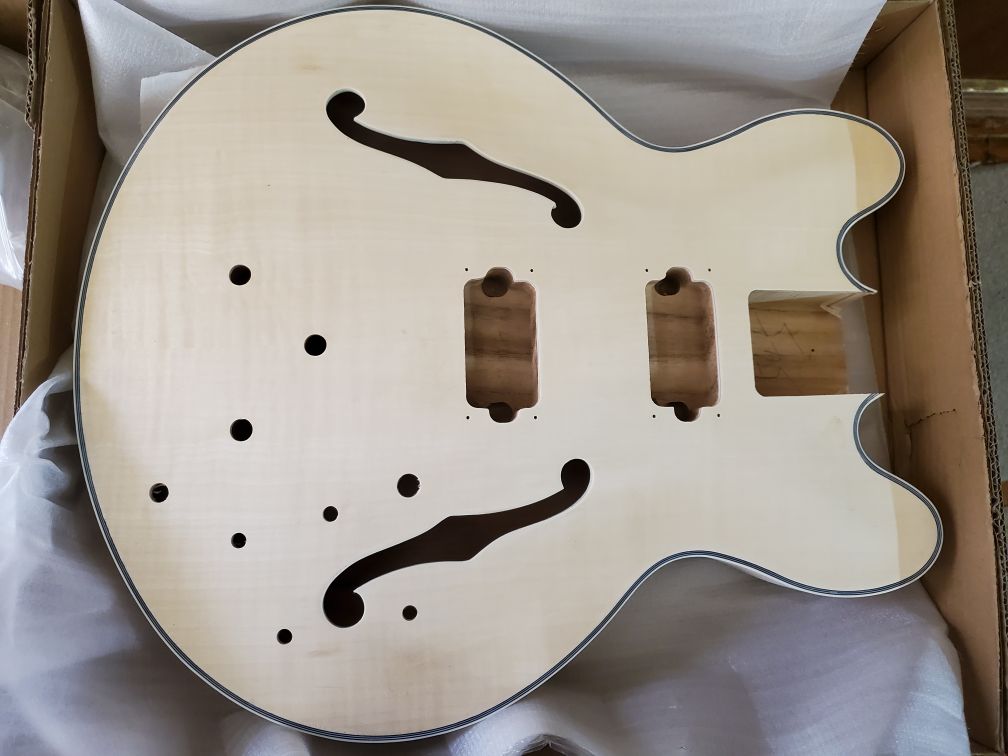 well it looks pretty enough, but I have to be honest. It's going to need a fair amount of sanding. It's rough to the touch but it's unsealed so that will make it nice for stain prep. the cuts at the neck pocket are a little rough and will need some work. The binding at the neck pocket is a rough as well and I have no idea what I'll be doing with that...
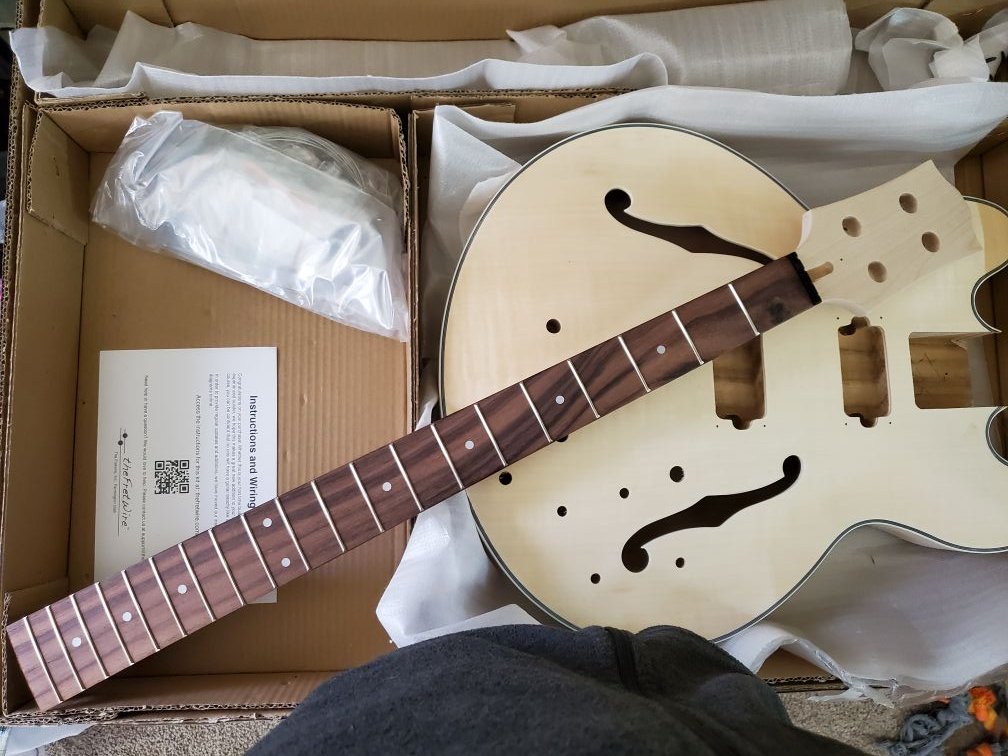
 I told you not look
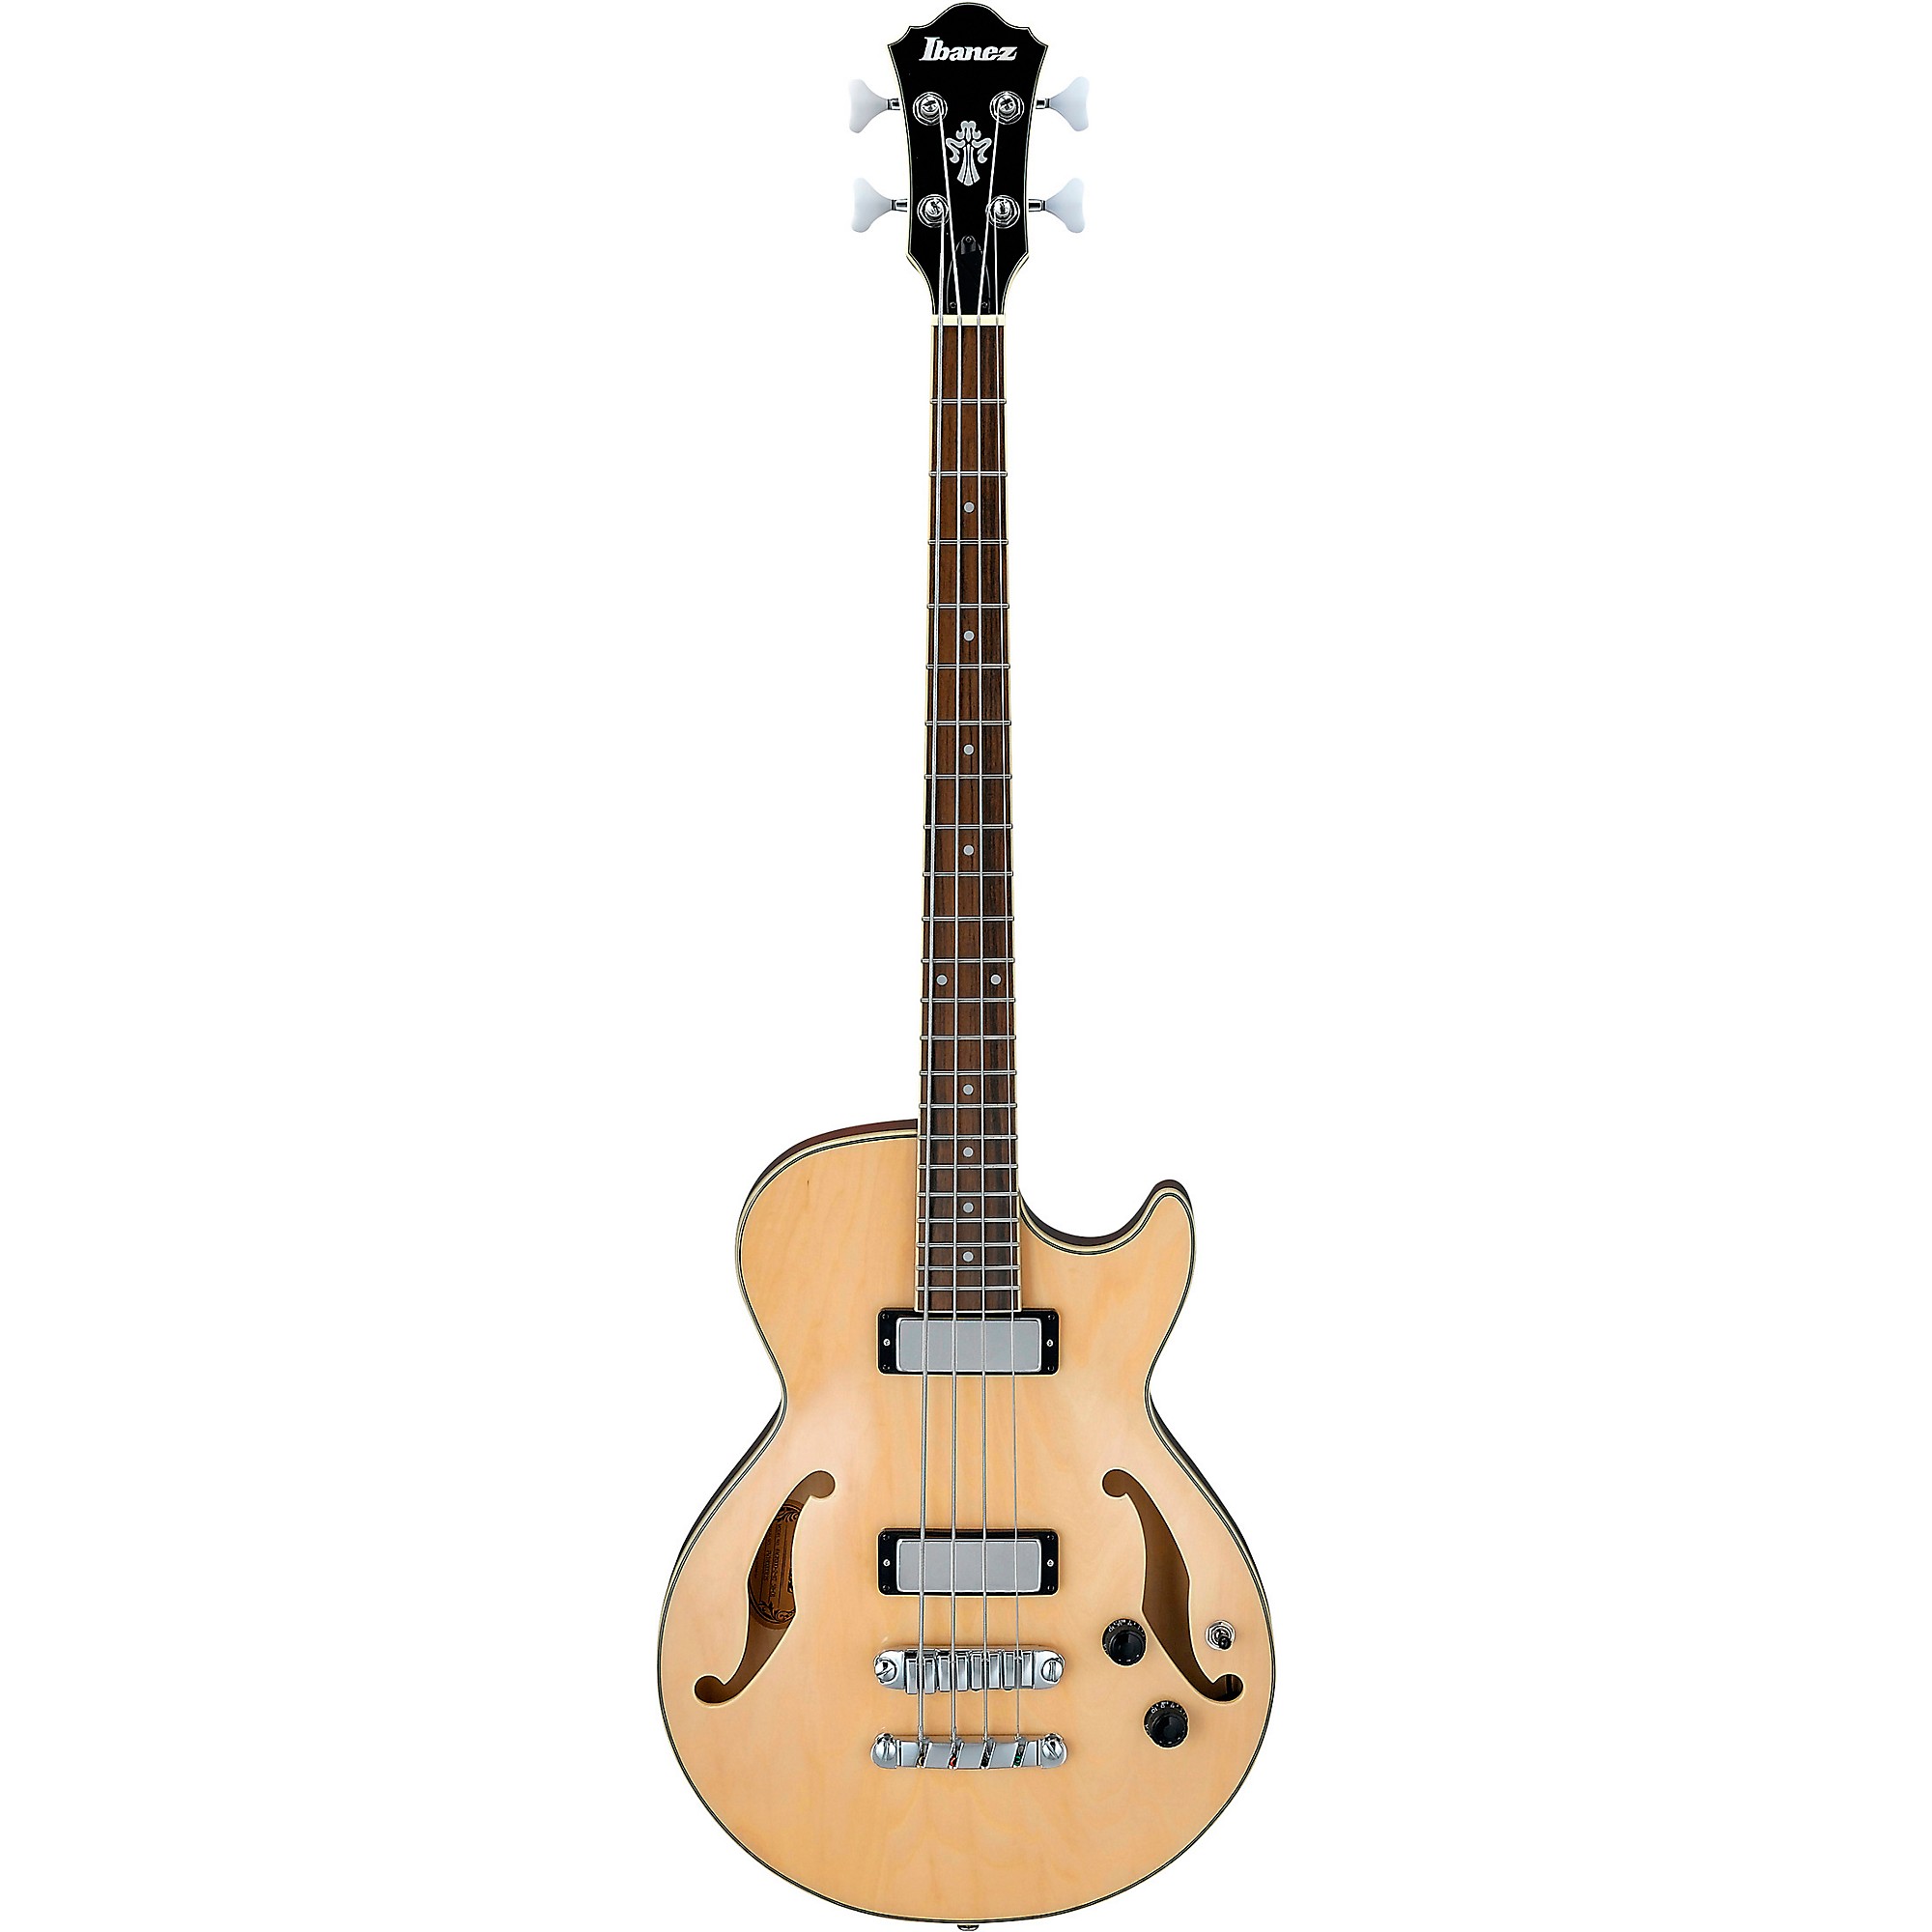
 they were selling basses for $99 and I found this beautiful Ibanez Artcore AFB200. After a couple days of drooling, I pulled the trigger and gave them my credit card… then guess what happened